Hello buddies,
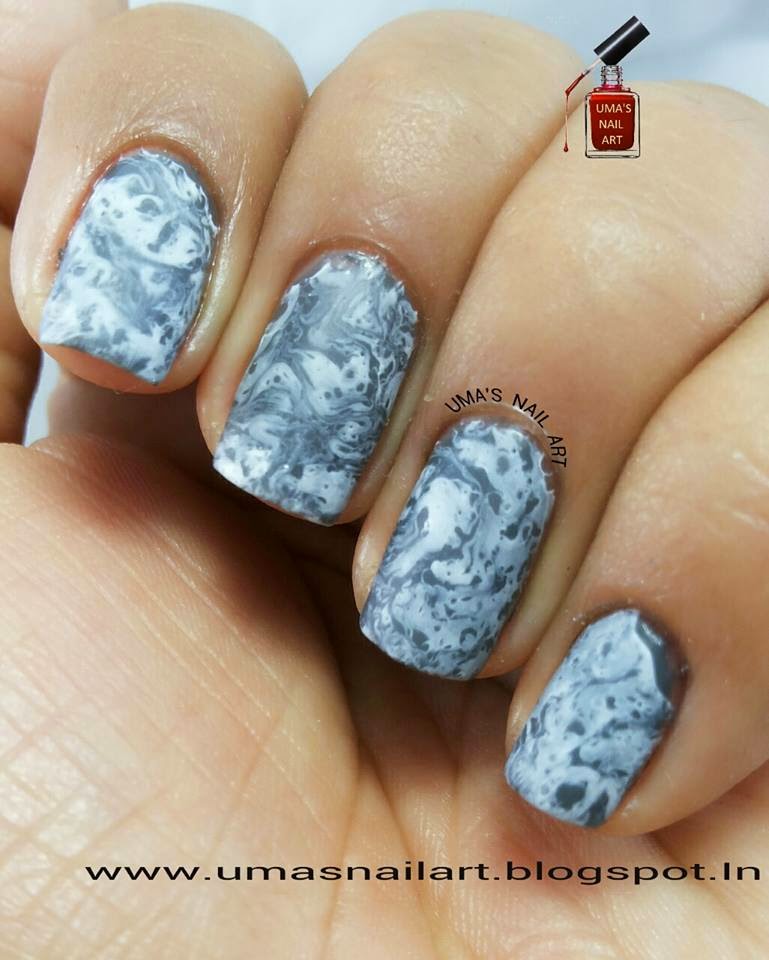
for today's challenge, Day-3:Water Spotting, I'm posting my Water Spotted Nails.
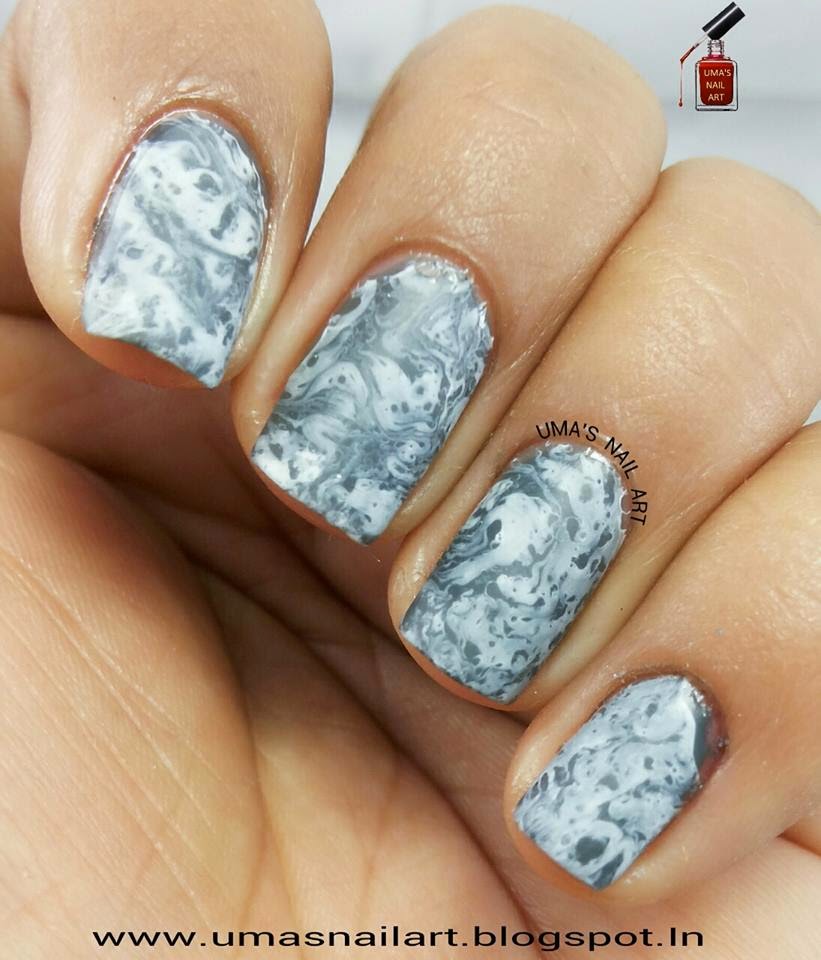
I tried this technique for the first time and after completing it I felt that this nail art was giving the perfect marble effect which I was trying to get from a long time.
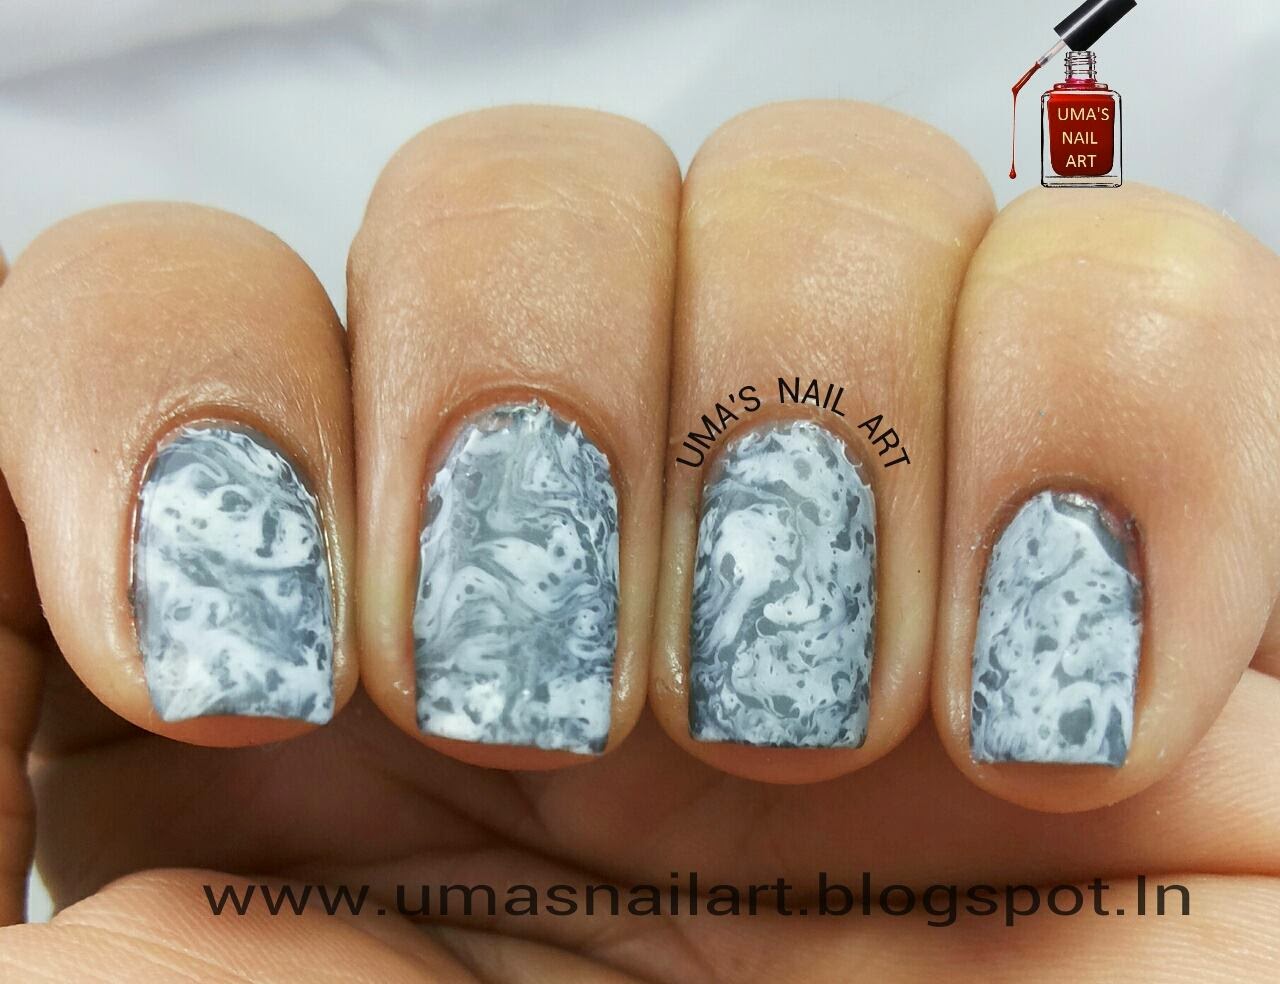
For this nail art I used two coats of Uma Nail Polish (The Power Of Uma) as a base. Now for the spotting, I took a little water in a container and then I put two drops of Maybelline Color Show (Porcelain Party 102) so that the white polish spreads and forms a layer over water.
Then I sprayed a single spray of a hair spray (you can use a similar product like acetone, hand sanitizer, body mist, etc.) over the polish layer to get a burned out effect. Then choose the best spot and simply submerge your nail in the water over that spot to get a water spotted design. repeat with all nails.

Thank You very much and please comment ;]
for today's challenge, Day-3:Water Spotting, I'm posting my Water Spotted Nails.
 |
| water spotted nails |
I tried this technique for the first time and after completing it I felt that this nail art was giving the perfect marble effect which I was trying to get from a long time.
 |
| Observe the marble effect |
For this nail art I used two coats of Uma Nail Polish (The Power Of Uma) as a base. Now for the spotting, I took a little water in a container and then I put two drops of Maybelline Color Show (Porcelain Party 102) so that the white polish spreads and forms a layer over water.
Then I sprayed a single spray of a hair spray (you can use a similar product like acetone, hand sanitizer, body mist, etc.) over the polish layer to get a burned out effect. Then choose the best spot and simply submerge your nail in the water over that spot to get a water spotted design. repeat with all nails.
Thank You very much and please comment ;]
Real marble, You painted with pretty colours :) I also tried this technique first. My spots are not circular, but I do not know why? I followed the tutorial steps... but my manicure looks like a bean pods :))))))
ReplyDeleteThanks Szilvia A. I think only the distance from which we spray matters, I also had the same problem but then I tried spraying from a greater distance and it worked ! :)
DeleteI love the marble effect on this!
ReplyDeleteThank you dear theriteofagingearly...<3
DeleteNice marble effect, the colours worked great together.
ReplyDeleteThanks Enigmatic :*
DeleteI'm behind on my prompts, but your mani is making me want to try this technique asap. It looks so nice and you picked a good color scheme too.
ReplyDeleteThanks a lot dear Roselynn :)
Delete